
The Honest Answer Up Front
A running toilet is the most ignored plumbing fault in the country, because it is quiet, intermittent, and the toilet still works. Meanwhile the fill valve tops up the tank all day, every litre running straight to the drain. In 15 years of plumbing service across Metro Vancouver, we can count the parts that cause nearly all running toilets on one hand: seven of them, ranked in this guide roughly by how often we find them. The flapper alone is responsible for the clear majority of cases, and it is a five-minute repair.
The honest summary we give on the phone: run the dye test first, because it costs nothing and points you at the right chapter. If the colour shows up in the bowl, the fault is at the flapper or the flush valve seat. If the tank keeps refilling on its own, the fill valve or float is the suspect. If the floor is wet, the gasket and bolts are talking. If you would rather not touch any of it, the $89 diagnostic is credited toward the repair, and most of these fixes land between $180 and $420 all-in.
A running toilet never fixes itself and never gets cheaper. It is the one leak in the house you can diagnose for free in fifteen minutes with food colouring.
0 parts cause nearly every running toilet
Every one of them is identifiable from the doorway by sound, water level or a wet floor, no tools required.
0 litres a day, quietly, from a small leak
Intermittent refills hide the waste. On metered homes it surfaces on the bill; on flat-rate homes it never does.
0 seconds to run the dye test
A few drops of food colouring in the tank, fifteen patient minutes, and the leak either shows in the bowl or does not.
0 jobs since 2010
Including a few thousand running toilets, which is why the seven-cause list is short and confident.
First: The 60-Second Dye Test
Before touching a single part, establish what kind of leak you have, because the seven causes sort into two families: tank-to-bowl leaks that waste water silently, and everything else that wastes water loudly or shows up on the floor. The dye test separates them perfectly.
- Lift the tank lid and set it somewhere flat and safe, it is porcelain and it does not forgive drops.
- Put several drops of food colouring into the tank water. Dark blue or green works best.
- Do not flush. Wait fifteen to twenty minutes without using the toilet.
- Check the bowl. Any colour in the bowl water means the tank is leaking past the flapper or through the flush valve seat: causes 1, 4, 5 or 6 in this guide.
- No colour in the bowl, but the tank keeps refilling anyway, points up the tank instead: the fill valve, float or overflow tube, causes 2 and 3.
- Water outside the toilet, under the tank or at the wall, is cause 7 territory, or the supply line and angle stop, and it has its own repair path.
One extra minute sharpens the result. Mark the water level inside the tank with a pencil, wait an hour with the supply on, and compare: a level that drops while the bowl stays clear points at the flapper seat, while a level that sits perfectly still with a constant trickle into the overflow tube points at the fill valve refusing to shut off. Our hidden-leak guide uses the same meter-based logic for leaks you cannot see at all, and the principle is identical: isolate, wait, observe.
Cause 1: The Flapper, the Usual Suspect
The flapper is the rubber seal at the bottom of the tank that lifts when you flush and falls back to seal the flush valve seat. When it hardens, warps or wears an edge, the seal leaks and the tank slowly drains into the bowl, which the fill valve dutifully refills. You hear the signature pattern: a short refill cycle every few minutes with nobody in the bathroom. Sometimes it is so quiet you only notice the fill valve whispering at night.
Flappers fail by calendar, not by wear, and BC water chemistry is unkind to them. Chlorine in the municipal supply attacks the rubber, and soft water offers no mineral cushioning anywhere else either, so flappers in Metro Vancouver homes routinely need replacement at two to five years of age rather than the longer service life seen in other regions. Chapter 11 covers the chemistry, and the practical takeaway is simple: inspect the flapper whenever the tank is open, and treat a hard or chalky flapper as one that has already failed, whether or not it is leaking this week.
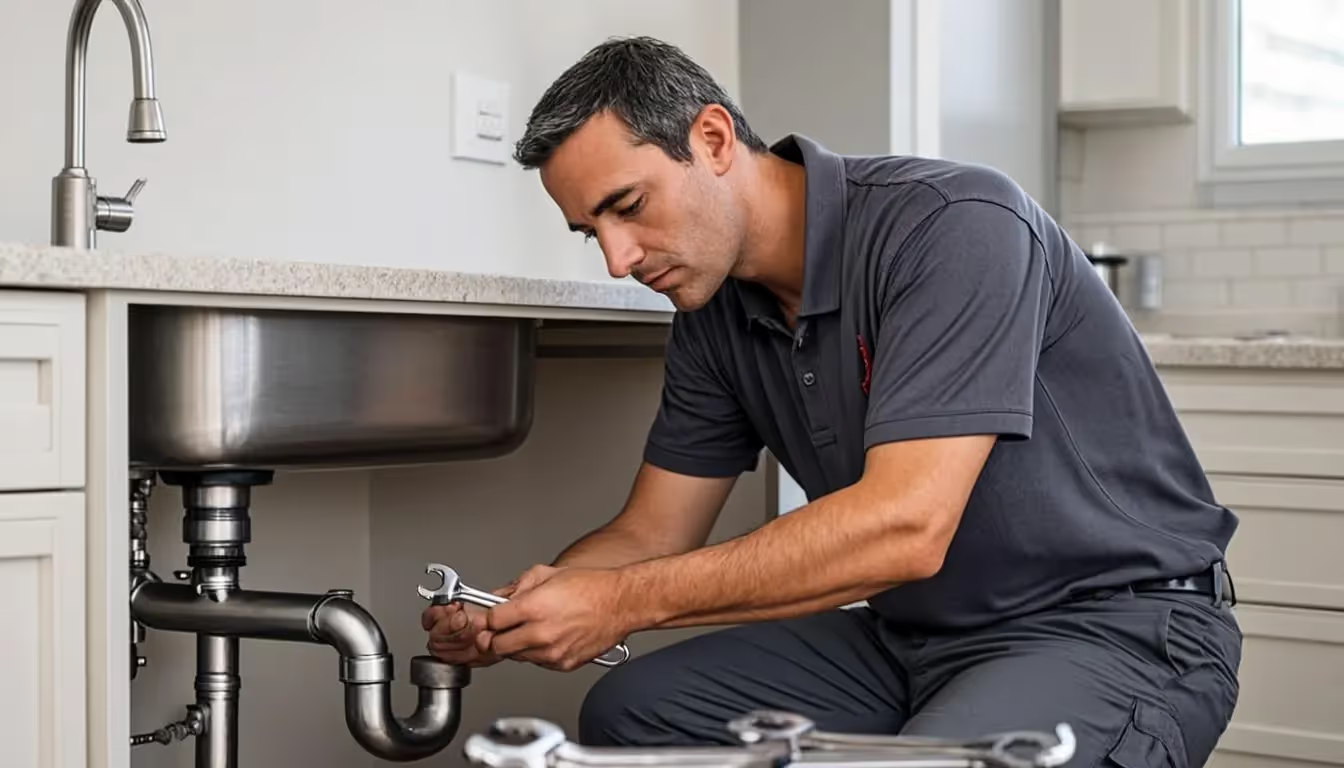
Replacement is a genuinely friendly DIY repair. Close the angle stop behind the toilet, flush to drop the tank level, unhook the flapper from its mounting posts or overflow tower, and take the old one to the hardware store so the new one matches the design. Reattach with the chain slack set so the flapper falls fully closed, reopen the stop, and confirm with a second dye test. If the leak survives a correct new flapper, the flush valve seat underneath has a nick or mineral ridge, and that is cause 6.
Causes 2 and 3: Fill Valve and Float Height
The fill valve refills the tank after every flush and is the part making the hissing sound. It fails in three modes. It refuses to shut off completely, so water runs constantly with the level pinned at the overflow tube. It fills slowly, stretching the refill cycle into an endurance event. Or it becomes shriekingly noisy, which is not a leak at all but announces that the internal diaphragm or seal is on its way out.
Float height is cause 3 because it sets where the fill valve stops, and it is the silent partner in most constant-trickle cases. If the float is set even slightly too high, the water level sits above the overflow tube opening and runs into the bowl forever, mimicking a flapper leak perfectly, except the dye test comes back clean. The fix is a five-minute adjustment: the float cup or ball screws, slides or clips down a centimetre, and the target is a water level marked on the tank or overflow tube, about two and a half centimetres below the tube opening.
Between the two: constant running with a clean dye test means float or fill valve. Short periodic refills with a coloured bowl mean flapper. That single sentence resolves most running-toilet phone calls, and it is why the dye test comes first in every diagnosis we run. A worn fill valve replacement is a confident DIY project with the stop closed, and a plumber visit that stays inside the standard repair range when you would rather not.
Cause 4: The Chain
The lift chain connects the flush handle arm to the flapper, and it fails by geometry. Too tight, and it holds the flapper slightly open, producing a leak that looks exactly like a worn flapper and sometimes survives a flapper replacement. Too much slack, and the flapper drops before the tank empties, producing a weak flush that people fix by holding the handle, which strains the chain and eventually snaps it. A chain that snags on its own links or on the overflow tube creates the classic ghost flush: the toilet appears to flush itself in the middle of the night.
The adjustment window is generous, roughly one to two centimetres of slack with the flapper seated, and the fix is a clip moved one link at a time. Trim excess chain only after the slack is right, and leave the clip accessible. If the handle arm itself is corroded or loose, that replacement usually happens at the same time, because both parts live inside the same five minutes of access. When a toilet repair visit includes the chain, handle and flapper together, that is the full top-of-tank refresh, and it is the most common bundle we install on older toilets in Burnaby and New Westminster postwar stock.
Causes 5 and 6: Overflow Tube and Flush Valve Seat
The overflow tube is the safety standpipe in the middle of the tank: if the fill valve runs wild, water escapes into the tube and down the drain instead of onto your floor. It rarely fails itself, but two faults involve it. A cracked overflow tube, usually at a joint, lets tank water seep continuously into the bowl through the crack, mimicking a flapper leak with a clean flapper. And a fill valve or float set too high uses the tube as a permanent drain, cause 3 wearing a disguise, which is why the water level target sits below the tube opening.
The flush valve seat is the harder diagnosis: it is the hard plastic or brass ring the flapper seals against, and when it is nicked, warped or crusted with a mineral ridge, a brand-new flapper still leaks. The dye test shows colour in the bowl, but the flapper looks perfect. Feel the seat with a fingertip, with the tank drained: a ridge, a chip or a rough patch confirms it. Minor mineral deposits can be cleaned off gently, a damaged seat means replacing the flush valve assembly, which involves pulling the tank off the bowl and resetting it on a new gasket, cause 7 territory. That is the boundary where most homeowners call us, and it is still a same-visit repair in the standard range.
The dye test tells you the leak is at the bottom of the tank. Your fingertip tells you whether the guilty part is the flapper or the seat it lands on. That distinction saves a wasted flapper replacement about one time in four.
Cause 7: The Tank-to-Bowl Gasket and Bolts
Water outside the toilet changes the conversation from wasted water to water damage, and two parts are usually responsible. The tank-to-bowl gasket is the large cone seal compressed between the tank and the bowl, and the two brass tank bolts pass through it with their own washers. Any of them can weep with age, and the signature is moisture at the tank base, water tracking along the bowl curve, or a pinkish mineral line where the drip runs.
This repair is the same tank-off work as the flush valve seat, so the parts are often refreshed together: new gasket, new bolts with fresh washers, and usually a new supply line while the angle stop is closed. It is also the point where a supply-line or angle-stop weep gets discovered, the $180 to $420 leak-repair class, and where our Vancouver toilet repair crews most often find the floor has been quietly wet for weeks. If flooring is already swollen or discoloured around the toilet base, tell us on the phone so the visit includes a subfloor look, because a wax ring failure under the bowl is a different leak with a different repair.
How Much Water a Running Toilet Wastes
The waste is the reason this repair outranks its difficulty. A running toilet is not a minor annoyance on a metered home, and on a flat-rate home it is invisible free water pouring down the drain. Here is how to put a real number on it.
The per-cycle math
A modern tank refills roughly six to eight litres per cycle. A flapper leak that cycles the fill valve every ten minutes is spending 900 to 1,100 litres a day without a single flush.
The stuck-open case
A flapper held open, by a tight chain or a warped edge, runs continuously, and that flow can push past 2,000 litres a day. It is the rare case, and it is loud enough to be obvious.
Metered homes: read the dial
With every fixture off, watch the water meter for a few minutes. A creeping dial with a running toilet is the leak signing its name. The meter test is also the first step in our hidden-leak investigations.
Flat-rate homes: the calendar
Vancouver-region flat-rate billing hides the waste completely, which is why the dye test and the pencil-mark level test matter more, not less, on unmetered homes.
The repair economics
The parts are inexpensive and the labour is quick. Against even the low end of the waste range, the repair pays for itself in water alone on any metered home, and in peace and quiet everywhere else.
The Real Costs: DIY, Diagnostic and Repair
Here is the honest cost picture, the same one we give on the phone. The dye test is free. The parts are inexpensive, a flapper or a fill valve is among the cheapest repairs in the whole plumbing trade, and the decision is really about whether you want your hands inside the tank or ours. Our $89 diagnostic is credited toward any repair you approve, so it is not an extra cost, it is the first instalment.
| Failure | DIY-friendly? | Typical response | Cost framing |
|---|---|---|---|
| Flapper (cause 1) | Yes | Angle stop closed, old flapper to the store for a match, chain slack checked on install | Parts only, or within the $180-$420 repair range with a visit |
| Float height (cause 3) | Yes | Slide or screw the float down, target the level mark below the overflow opening | Free in almost every case |
| Fill valve (cause 2) | Yes, with patience | Stop closed, old valve out, new valve set to height, refill test | Parts only, or within the standard repair range |
| Chain and handle (cause 4) | Yes | Adjust slack to a centimetre or two, replace corroded handle arm at the same time | Parts only |
| Flush valve seat (cause 6) | Borderline | Feel for nicks, clean mineral ridges gently, replace assembly if damaged | Tank-off work, top of the repair range |
| Gasket and bolts (cause 7) | Pro or confident DIY | Tank off, gasket, bolts and supply line renewed, subfloor checked if the floor shows damage | $180-$420 class, plus inspection |
| Supply line or angle stop weep | Pro recommended | New line, stop exercised or renewed, leak path dried and documented | $180-$420 leak-repair range |
Two footnotes. First, the $150 flat after-hours premium only applies to genuine evening and weekend calls, and it is posted in advance, never discovered on the invoice. Second, if a running toilet is part of a bigger picture, a creeping meter, blue-green stains at other fixtures or dropping pressure, the picture matters more than the part, and the same visit can assess all of it. That broader investigation is exactly what our emergency plumbing guide walks through for the cases that cannot wait for business hours.
When to Stop Repairing and Replace
The repair-versus-replace line for toilets is honest and short. Repair when the fixture is structurally sound and the failure is one of the seven parts, because every one of them is renewable for less than the price of a dinner. Replace when the tank or bowl is cracked anywhere, when one toilet needs its third repair in two years, when a tank-off repair is about to stack on a toilet already deep in its second decade, or when a pre-2000 high-volume unit is on its last rebuild, because a modern low-flow toilet uses a fraction of the water and quietly pays part of its own way on a metered home.
The install itself resets the failure clock in ways a repair never can: new wax ring, new supply line, new angle stop exercise, fresh bolts and a fill-and-flush assembly with zero years on it. For older bathrooms, the replacement visit is also the natural moment to assess the shut-off, the flooring seal and the supply behind the wall, which is why our before-and-after gallery of Surrey and Metro Vancouver bathroom work keeps filling with two-hour toilet swaps that prevented five-figure floor repairs.
Why BC Water Eats Toilet Parts Early
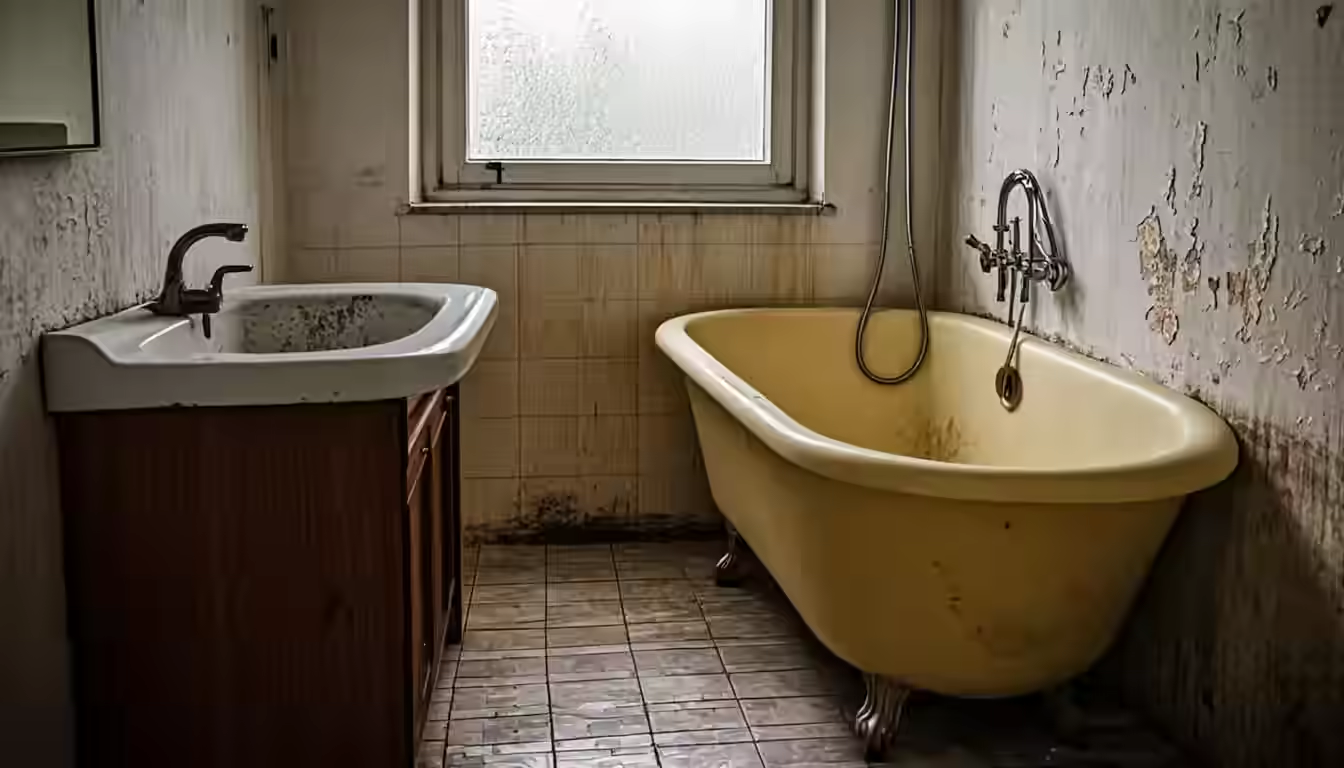
Metro Vancouver's water is famously soft, and the same chemistry that keeps your kettle clean works steadily on toilet tank parts. The chlorine residual that keeps the water safe degrades rubber and elastomer seals, so flappers, fill valve diaphragms and tank gaskets age on a faster calendar here than in harder-water cities, where minerals ironically lay a protective crust over everything. The practical consequence is a maintenance rhythm rather than a repair emergency: when the tank is open for any reason, the flapper gets inspected, and every year or two the whole top-of-tank seal set is worth a five-minute look.
That is the full guide: dye test first, match the symptom to one of the seven causes, respect the DIY boundary, and know the repair range before anyone opens a toolbox. If the running toilet has company, a creeping meter, stains at fixtures, pressure that comes and goes, the diagnosis widens, and the $89 visit covers all of it with the fee credited toward whatever fix you approve. Call 604-615-2212 any hour, or use the quote form below, and the toilet stops running this week.
Frequently Asked Questions
Services From This Guide
Toilet repair, leak work and full fixture installs across Metro Vancouver, 20 cities, flat-rate pricing, seven days a week.
Plumbing across Metro Vancouver
Diagnostics credited to repair, toilet rebuilds, leak work and every fixture in the house, Red Seal certified.
24/7 emergency plumber, Vancouver
Floods and burst lines answered around the clock, average 45-minute response, $150 flat after-hours premium posted in advance.
Water heater service and install
The other appliance soft water quietly consumes: flushes, anode checks and replacements with financing options.
All 17 service areas
One licensed team, one 24/7 dispatch, 12,000+ jobs completed since 2010 across the region.
Related Guides
How to Detect Hidden Water Leaks
The meter test, stain patterns and sound checklist behind every leak investigation we run.
EmergencyEmergency Plumbing in Vancouver
What a real after-hours response includes, what it costs, and how the $150 flat premium works.
PlumbingHow to Choose a Plumber in Surrey
The 15 checks that separate a flat-rate Red Seal shop from a franchisee with a van.

Red Seal certified, licensed gas fitters (BC-PL-2019-4421), $2M insured and 15-plus years in the field, with more than 12,000 jobs completed across Metro Vancouver since 2010 and a 5.0-star rating across 26 Google reviews. We wrote this guide because the repair-versus-replace answer is only honest when the person giving it has no stake in which way you choose. To turn these numbers into a flat-rate quote, see plumber in Langley — same-day across the city.
More about our team →Stop the Running This Week
Book a $89 diagnostic or a free replacement estimate with a Red Seal estimator. You get the honest repair-versus-replace read on your unit, a fixed written price for either path, and financing options from 7.99 percent if replacement wins. Zero obligation, same-day quotes on most calls. The causes and fixes are laid out step by step in Toilet Keeps Running? Fix It in 20 Minutes. If you would rather hand this to a pro, our plumbing services pages cover Metro Vancouver.
Furnace down right now?
No-heat calls are answered 24/7 with live dispatch and flat after-hours pricing posted in advance. Daytime? The $89 diagnostic is usually same-day in Vancouver, Burnaby and Surrey.
Call 604-615-2212 WhatsApp Us