The Honest Answer Up Front
A mini-split is half equipment and half placement, and the placement is the half you live with. The best head on the wrong wall short-cycles, blows on the sofa, reads the temperature of a curtain, and becomes the appliance you negotiate with every evening. The same head on the right wall, high on an exterior wall, vane sweeping the long axis of the room, drain falling naturally to the outside, disappears into the background of a comfortable house. Nothing about the refrigeration changes between those two outcomes, which is the entire point of this guide.
Placement is also the least reversible decision in a ductless install. Equipment gets replaced every 15 years, but the hole through the wall, the line-set path, the drain, and the spot the eye goes to when entering the room are decisions that outlive the hardware by decades, and moving a badly placed head later means drywall, paint and a second install bill. In thousands of ductless jobs across this region, our estimators spend more of the site visit on where than on what, and this guide is that conversation written down: the air physics, the room-by-room map, the ranked mistakes, the wall and drain rules, the outdoor unit, the strata layer, and the multi-zone version of all of it for whole-home systems.
The context worth knowing before the first tape measure appears: a single-head ductless system runs $3,800 to $5,500 installed, and multi-zone setups covering several rooms run $9,500 to $16,000, with the placement plan deciding how much of that range a house actually needs. The full equipment overview lives on the heat pumps service page, and the Vancouver heat pump guide covers the local cost and choice landscape this placement guide sits inside.
Ductless equipment is identical from house to house, the physics is identical, the only variable the installer truly controls is where the air begins and where it lands. Placement is the install.
0 of usable air throw
A head's effective reach along its vane path, the number that decides whether the far wall of a long room ever feels the system.
0 typical max line set
The rough allowance most residential pairings give between head and outdoor unit, confirmed per model in the install manual.
0 jobs since 2010
Ductless installs, heads moved, and placement rescues behind us, one flat-rate sheet across seventeen cities.
0 on workmanship
Red Seal installers under BC licence BC-PL-2019-4421, $2M insured, and the placement plan written into the quote.
How Heads Throw Air
A mini-split head is a nozzle, not a diffuser. Unlike a duct register that leaks air into a plenum of room, the head takes room air in through its top grille, passes it over the coil, and launches it as a directed sheet along the ceiling, where it entrains room air and mixes the space on the way down. That jet pattern is the technology's superpower and its trap: aimed along a long wall, it washes an entire room evenly, while aimed at an obstacle, it ricochets and dies three metres from the unit, leaving the far half of the room in its own climate.
Three placement rules fall straight out of the physics. Aim along the longest unobstructed path in the room, because the throw is a straight line and the mixing happens along it. Mount high, because air launched at ceiling level rides the ceiling and mixes the whole volume on its descent, while air launched low stratifies and pools. And keep the intake clear, because the head's temperature sensor reads the air entering the top grille: a head above a heat source reads the room as warmer than it is, a head behind a curtain reads the microclimate of the window, and either one puts the system on a thermostat made of fiction.
| Physics rule | Placement translation |
|---|---|
| The jet travels in a straight line | Aim the vane down the long axis of the room, not into the nearest wall |
| Air mixes on the descent from ceiling height | Mount the head high, never at picture-rail height in a tall room |
| The intake sensor reads entering air | Keep the top grille clear of curtains, shelf overhangs and heat sources |
| Warm air rises, cool air sinks | Cooling aimed along the ceiling cools the room, heating aimed downward warms the floor |
| Short cycles punish misplacement | A head reading a pocket of air cycles the whole system on bad information |
The cooling-versus-heating wrinkle is worth one paragraph, because ductless does both. In cooling, the jet rides the ceiling and the room cools evenly from above, which is exactly what you want. In heating, the head points its vane downward and pushes warm air to the floor, where the return path pulls it back across the room at ankle height. That downward mode is why placement near the cold end of a room, the window wall, works so well in winter: the head intercepts the coldest air in the room at the source and reheats it before it crosses the living space. The window wall placement is the classic for a reason.
The Room-by-Room Map
Every room type in a Metro Vancouver house has a placement pattern that works and one that does not, and the differences are specific enough to be worth naming room by room. This map comes straight from the site-visit conversation, the version of it we run while standing in the room with a tape measure and a homeowner holding a coffee.
| Room | The placement that works | The mistake to refuse |
|---|---|---|
| Living room | High on the window wall, vane sweeping the long axis toward the seating, not at it | The corner pocket behind the door, where the jet dies and the intake reads a pocket |
| Bedroom | Above the door or on the wall opposite the bed, vane parallel to the bed not at it | Directly over the bed, cold air on sleepers and the lowest stage still audible |
| Kitchen | Away from the range, filter access easy, because cooking aerosol diets the screen | Above the fridge or beside the range, grease-cooked filters and heat-fooled sensors |
| Open-concept main floor | One head where the sightline is longest, aimed to sweep the whole volume | Two heads aimed at each other, jets colliding and cancelling in the middle |
| Basement suite | Low ceilings favour the long wall, drain and line rise to joist space | Boxing the head into a bulkhead that blocks both service and intake |
| Home office | Beside or above the desk zone but not pointed at the occupant, noise on low stage matters | Blowing across the desk, papers and comfort, or reading the heat of the equipment rack |
| Sunroom | The glass wall itself, intercepting the solar load at its source | The solid wall opposite the glass, fighting the load after it has entered |
Two rooms deserve an extra sentence. Bedrooms are where ductless wins or loses its reputation, because the head's quietest low stage is genuinely quiet but a badly aimed vane makes even that stage felt, so the wall opposite or above the door, aimed parallel to the bed, is the pattern that lets a light sleeper keep the system on all night. And kitchens are where maintenance reality lives: a washable screen that is reachable at arm's length gets rinsed monthly, and one that requires moving furniture and a ladder gets rinsed never, which is how a kitchen head slowly strangles.
Placement Mistakes, Ranked
These are the placements we are eventually called to rescue, ranked by how often we find them and how much comfort they cost. None of them comes from bad equipment, and all of them were decisions, made for reasons that seemed sound at the time, usually aesthetics, occasionally a stubborn wall, once in a while a previous contractor who measured nothing.
Pointed at the seating
Direct airflow on a sofa or bed is the number one comfort complaint we see, a jet that cannot be escaped and a low stage that is still felt.
The corner pocket
Behind a door or in a corner alcove, the jet collides with two walls, the intake reads a pocket, and the far room never learns the system is on.
Behind the curtains
A head whose intake sits in the window-treatment microclimate runs on fiction, short-cycling on sunny days and ignoring the actual room.
Too low on the wall
A head mounted at picture height loses the ceiling-ride mixing pattern, and heating stratifies the air above it instead of the people below.
Boxed into a bulkhead
Service access and intake clearance sacrificed to trim, so every future maintenance visit becomes a demolition negotiation.
Fighting the windows from across the room
The load enters at the glass and gets fought at the far wall, leaving a cold gradient across the floor the head cannot close.
The pattern under all six mistakes is the same: the placement was chosen for how the wall looked rather than how the air moves. The encouraging half of that sentence is that the rescue is usually a relocation rather than a replacement, the equipment survives, the line set gets a new path, and the room finally meets the system it always owned. The discouraging half is that every rescue costs more than the original decision would have cost to get right, which is the entire argument for the site visit this guide keeps pointing at.
Walls, Drains and Line Sets
The head is the visible decision, but the wall behind it carries the two hidden services that decide whether the install is simple or complicated: the refrigerant line set to the outdoor unit and the condensate drain to the outside world. The exterior wall is the default because both services exit through one 7 to 10 centimetre penetration hidden behind the head itself, the line set drops the outside wall in a neat line-cover, and the drain falls naturally with gravity, which is the entire plumbing philosophy: water goes downhill, and a drain that never needs a pump is a drain that never fails a pump.
The interior wall trades that simplicity for openness of layout, and sometimes the trade is right, but the costs should be entered honestly. The line set has to cross the room through framing or along the ceiling to reach an exterior wall, the drain almost always needs a condensate pump because gravity is gone, and a pump is the one component in a ductless system with moving parts that runs every humid day of every summer. When interior placement is genuinely the better room answer, we design the line run in the ceiling joist space and spec a quality pump with a serviceable path, and the honest quote shows those lines as decisions, not surprises.
The penetration
One hole behind the head, sized to the line set and drain, sleeved, sealed, and hidden by the unit itself. Sloped slightly outward so the wall stays dry forever.
The line-set path
Straight, short and in a line cover down the exterior wall, or through joist space on interior runs. Every extra metre and elbow is capacity and cost.
The drain
Gravity to the outside wherever possible, terminating where winter defrost melt cannot pool or re-freeze at the outdoor unit's base.
The pump, when unavoidable
A quality condensate pump, accessible for service, with a check valve, because an interior-wall head in a humid July moves litres a day.
One BC-specific note on the penetration itself: this is a rain climate, and the sleeve, the sealant and the drip arrangement over the line cover are not cosmetic details here. Done right, the wall stays as dry as the day it was built, done casually, the stain arrives in the second or third winter, and the repair belongs to a different trade. Our installs treat the wall opening as exterior-envelope work, because that is what it is.
Placing the Outdoor Unit
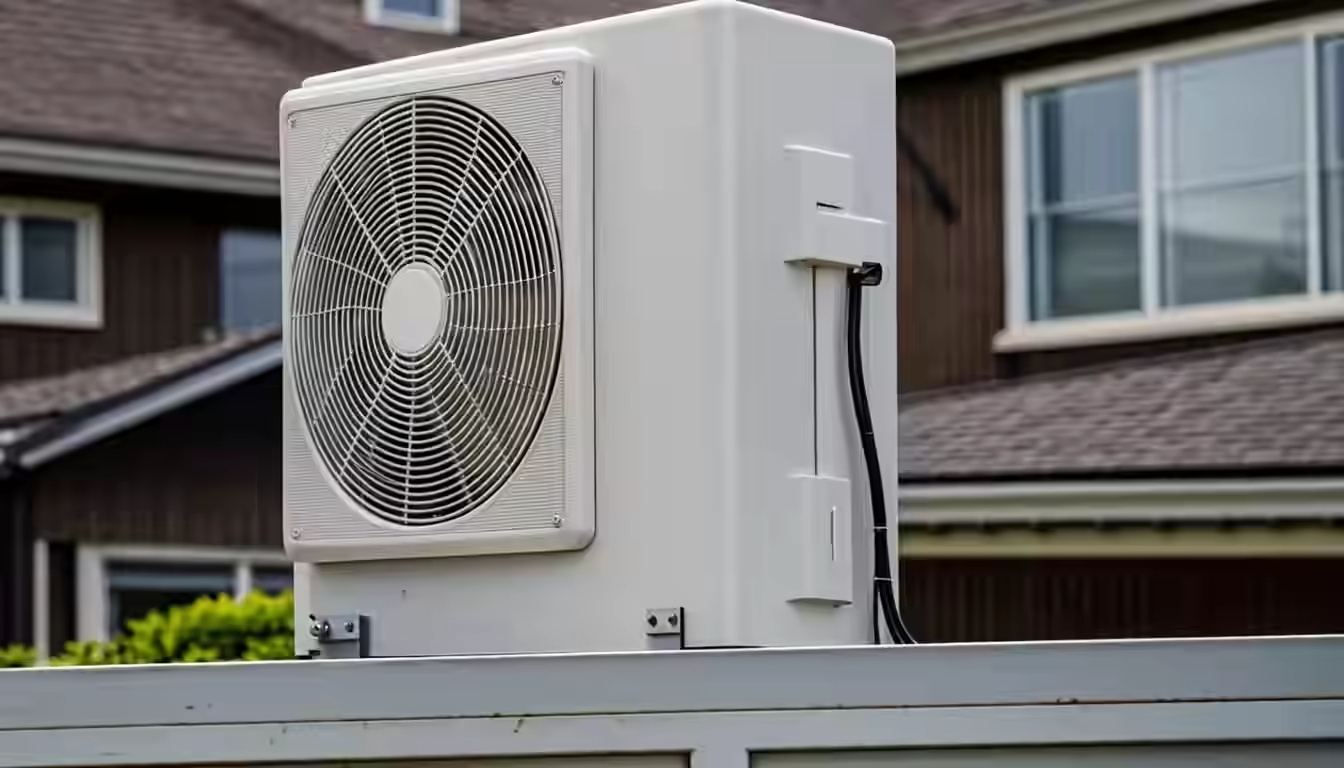
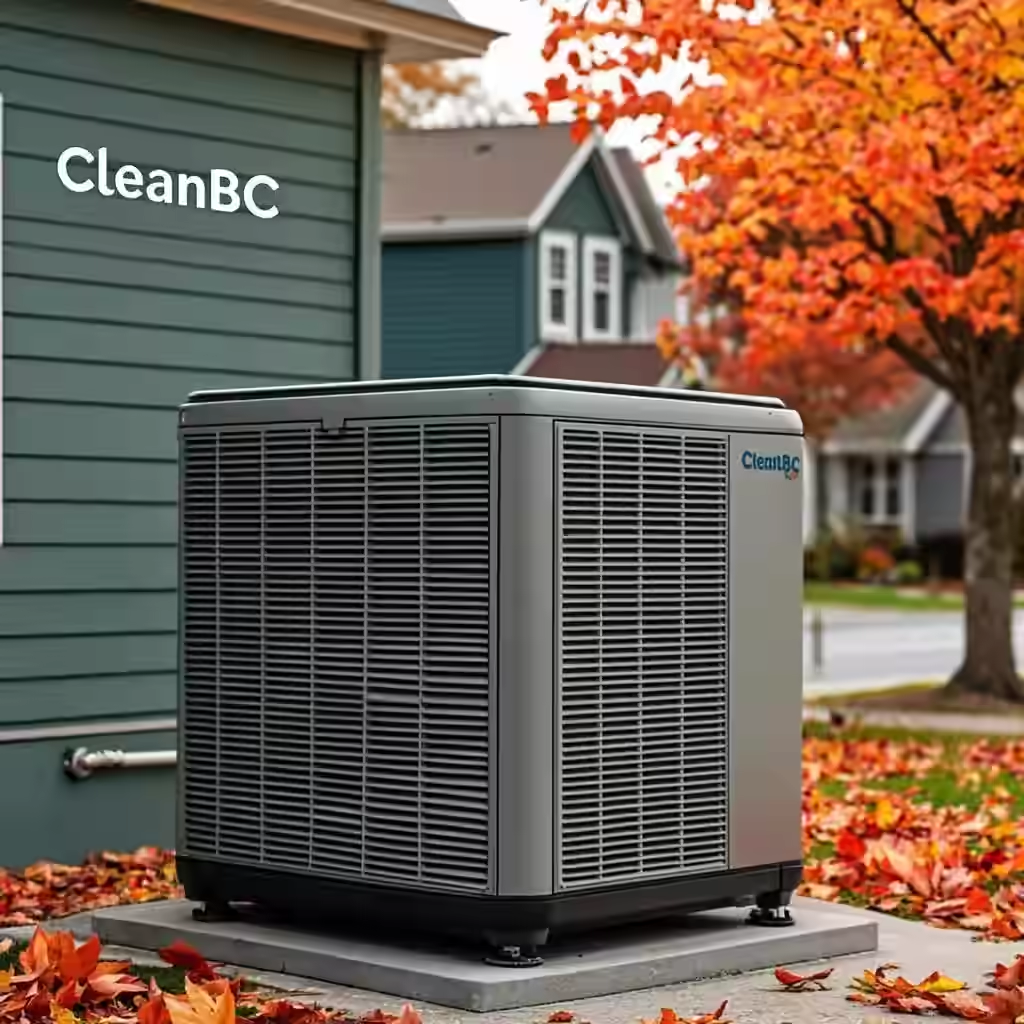
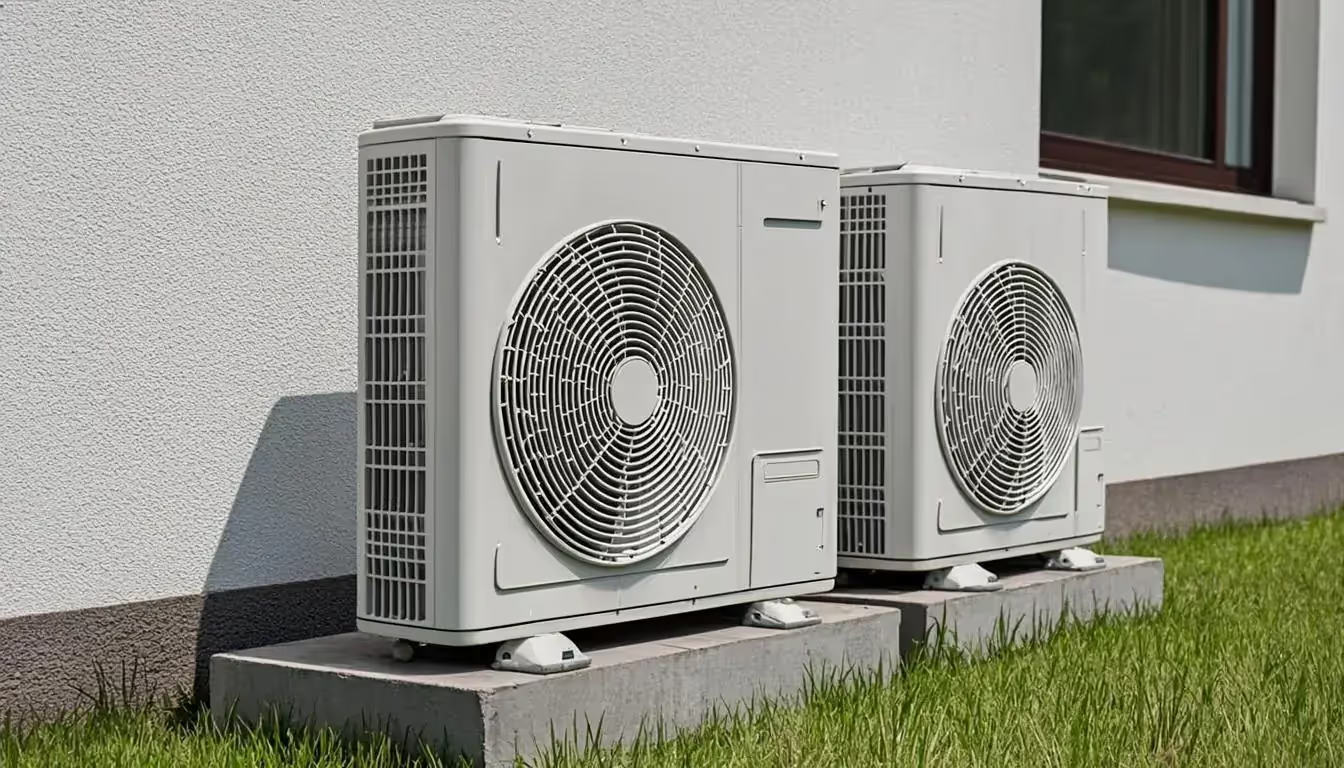
The outdoor half of a ductless system is small, quiet by modern standards, and still deserves engineering. Its needs are airflow, drainage, service access and peace with the neighbours. Airflow means clear space on the sides and top, and in snow country that means mounting high enough that drifts do not bury the coil, wall brackets or a frame stand rather than a ground pad in the deep-snow valleys. Drainage matters twice, once for summer condensate and once for winter defrost melt, which arrives in litres on a cold damp day and needs a path away from the unit's base so it does not re-freeze into the ice skirt our defrost guide warns about.
The neighbour file is real in this region. In a Vancouver or Burnaby side-by-side, the outdoor unit lives metres from someone's bedroom window, and the placement conversation includes vibration isolation on the brackets, mounting height away from the window line, and the manufacturer's sound data aimed away from the shared wall. Strata adds a written layer: most condo boards want the locations, mounting method and line-routing shown on a plan before approval, and we have drawn enough of those plans to make the approval uneventful. The happy ending of that paperwork is a unit nobody on either side of the wall can hear on its lowest stage, which is the stage a right-sized system lives on most of the year.
| Outdoor placement factor | The rule we install by |
|---|---|
| Airflow clearance | Open sides and top per the manual, and nothing stacked, planted or parked within the zone |
| Snow line | Bracket or stand height above the local drift line, higher in valley and outflow zones |
| Drainage | Defrost melt and condensate led away from the base, never pooling under the unit |
| Service access | A technician standing comfortably at the unit, because maintenance happens every year |
| Neighbour peace | Vibration isolation, height away from window lines, sound data aimed away from shared walls |
| Drip lines | Never under an un-guttered roof edge, because icicles and drip ice defeat both coil and cabinet |
Condos, Strata and Character Homes
Housing stock shapes the placement conversation as much as physics does, and this region offers four distinct games. The condo and strata unit, where the outdoor unit lands on a balcony or courtyard with board approval, line routing through limited common property, and a bylaw packet read before the first hole. The Vancouver character house, where a 1910 layout of small closed rooms makes multi-zone heads the honest answer and the wall cavity hides nothing, so line covers become part of the room's architecture. The Surrey and Langley rancher, open enough that one well-placed head covers the main floor and a second handles the bedrooms. And the basement suite, where low ceilings, joist routing and a separate-thermostat reality turn placement into a two-zone design from the first sketch.
Vancouver
Character homes, laneways and condos, where placement doubles as a strata and architecture conversation.
Surrey
Ranchers and newer builds where one main-floor head plus a bedroom zone covers the house.
Burnaby
Side-by-sides and towers, the neighbour and bylaw layer of placement done properly.
Coquitlam
Sloped sites and family homes where outdoor-unit snow lines and line runs earn their planning.
The strata sequence, for the condo owners reading: read the bylaws on Alterations and Limited Common Property first, submit the head and outdoor-unit locations with mounting details and the line-routing plan, get the written approval before anything is drilled, and keep the approval with the install records. The sequence is shorter than most owners fear and longer than most contractors bother with, and the difference between those two speeds is whether the strata letter arrives before or after the install. We have walked boards through it enough times that the plan usually goes through on the first submission.
Multi-Zone Planning
A multi-zone system, one outdoor unit serving two to five heads at $9,500 to $16,000 installed, is a placement problem squared, because every head needs its own right wall and the collection needs to make sense as a system. The design starts from room loads, which head size belongs in each room, then placement, where each head's jet and sensor live, then pairing, whether the chosen combination sits inside the manufacturer's match table for the outdoor unit. A mismatched zone pair, one big head and one small, forces the outdoor unit into turndown territory it was never designed for, and the symptom arrives as efficiency loss and odd cycling that no service visit will find, because it was drawn that way.
The placement order of operations for a whole-home multi-zone is worth writing down: place the bedroom heads first, because their constraints, acoustics, bed position, sightlines, are the tightest. Place the main living head second, where the long-axis sweep does the most work. Place the outdoor unit third, close enough to keep the total line-set lengths honest across all zones. And leave the odd rooms, the mudroom, the den, the workshop, as the honest conversation about whether they need a head at all or whether the jet from the adjacent head reaches them. The multi-zone homes that delight their owners were drawn in that order, and the ones that do not skipped a step.
Costs by Configuration
Placement moves the price inside the honest ranges, and knowing which placement decisions cost money keeps the quote legible. A single-head system runs $3,800 to $5,500 installed, and the exterior-wall, gravity-drain version of that system sits at the friendly end of the range, while an interior-wall placement with a pump and a ceiling line run moves it upward. A multi-zone system runs $9,500 to $16,000, and its range moves with the number of heads, the total line-set length, and the strata or access realities of the building. None of these placement costs are surprises when the site visit has done its work, which is the point of doing it.
| Configuration | Installed range | What placement does to the number |
|---|---|---|
| Single-head ductless | $3,800-$5,500 | Exterior wall and gravity drain sit low in the range, interior wall and pump sit higher |
| Two-zone system | Within the multi-zone range | Two right walls plus an outdoor location that keeps both runs short |
| Whole-home multi-zone | $9,500-$16,000 | Head count, total line length and strata or access realities move the figure |
| Placement rescue after the fact | Quoted per project | Relocation, new line path, drywall and paint, always more than the first-time-right decision |
Two money notes complete the picture. First, the incentives: Combined CleanBC Better Homes, BC Hydro, FortisBC and municipal top-ups can reach $16,000 for cold-climate heat pumps in 2026 — we complete the paperwork. The full program map lives in the CleanBC rebates guide. Second, financing: approved-credit plans from 7.99 percent exist precisely so the placement-first design, the one that spends a little more on line covers and pump quality and getting the walls right, does not get value-engineered into the corner-pocket mistakes of chapter four, and the financing page lays the monthly math out plainly.
What the Site Visit Measures
The placement conversation happens in the room, with a tape measure, and it takes about an hour. Here is what gets measured and why, so the visit can be checked against its own list. By the end you should have head locations pencilled on a floor plan, the line-set paths drawn, the outdoor-unit location chosen with its clearances and snow line, and a written quote whose placement decisions you can point to on the wall. Anything less means the room never got measured, and the room not getting measured is how the corner pocket behind the door becomes your living room's climate.
Sightlines and throw paths
The long axis of each room, the obstacles, where the jet can actually travel. This is the placement physics from chapter two, measured on your walls.
Wall construction and cavity
Exterior or interior, framing direction, what the line set and drain will cross, and whether a gravity drain is available.
The penetration and line route
Where the hole lands, where the line cover runs, how it meets the outdoor unit, and the total length against the manual's allowance.
Outdoor location
Airflow, snow line, drainage for defrost melt, service access, and the neighbour and bylaw layer in dense settings.
The written plan
Locations on a sketch, line paths, equipment pairing, and a flat-rate quote that reflects exactly the plan you walked through together.
The One-Page Cheat Sheet
The placement guide, wall-hanger edition: every rule in this guide compressed to the row you need while standing in the room with a coffee, deciding.
| Room moment | The rule |
|---|---|
| Where does the head go? | High on the wall, aimed along the longest sightline, near the cold source, intake clear |
| What about the bed? | Never pointed at it, parallel to it, above the door or opposite wall |
| Which wall? | Exterior if possible, interior trades a pump and a longer line for openness |
| How far can it reach? | Roughly 7 m of throw, 15 m of line, both confirmed in the manual for your pairing |
| Where does the outdoor unit go? | Clear airflow, above the snow line, drained, serviceable, at peace with the neighbours |
| Condo or strata? | Bylaws first, written approval, locations on the submitted plan |
| Multi-zone order? | Bedrooms, living head, outdoor unit, then the honest talk about the odd rooms |
| What does placement cost? | Inside the honest ranges: $3,800-$5,500 single head, $9,500-$16,000 multi-zone |
Placement is the half of a ductless install that never gets upgraded away, so it deserves the measurement hour. Get the wall right, and the equipment, which is genuinely good now, gets to be as good as it says on the box for fifteen years.
Book the Placement Conversation
A free site visit measures your rooms, draws the head and line plan, and ends with a written flat-rate quote whose placement decisions you can point at on the wall. Already living with a badly placed head? Relocation quotes start the same way, tape measure first.
Frequently Asked Questions
Services From This Guide
Ductless design, multi-zone planning and placement rescues across seventeen Metro Vancouver cities and the Fraser Valley, one flat-rate sheet.
Ductless installation
Single-head and multi-zone systems placed from measured rooms, line runs and drain paths, one flat-rate quote.
Heat pump Burnaby
Side-by-sides and strata buildings where neighbour-quiet placement and bylaw approvals are done properly.
Windows and doors
The glass wall a head fights or befriends, with energy-efficient replacement that shrinks the load a head must cover.
24/7 emergency service
No-heat calls answered around the clock, average 45-minute response, $150 flat after-hours premium.
Related Guides
The Vancouver Heat Pump Guide
The equipment, cost and choice landscape this placement guide sits inside.
RebatesCleanBC Rebates: The 2026 Guide
The incentive stack behind cold-climate ductless, program by program, filed by us.
HeatingFurnace Repair vs Replace: The Honest Guide
The ducted alternative, for rooms where the placement conversation starts with the ducts.

Red Seal certified, licensed gas fitters (BC-PL-2019-4421), $2M insured and 15-plus years in the field, with more than 12,000 jobs completed across Metro Vancouver since 2010 and a 5.0-star rating across 26 Google reviews. We wrote this guide because placement is the half of ductless that never gets upgraded away, and the cheapest hour in the entire project is the one spent measuring where the air goes. This is the site-visit conversation we run in the room, tape measure out, including the placements we have been called to rescue. To book instead of DIY, see heat pump repair in Delta — same-day across the city.
More about our team →Plan Your Placement First
Book a free site visit with a Red Seal estimator. You get the room-by-room placement plan, the line-set and drain routing drawn, honest equipment pairing from measured loads, and a fixed flat-rate quote for the configuration your house actually needs. Zero obligation, same-week scheduling on most calls. If you would rather hand this to a pro, our heat pump services pages cover Metro Vancouver.
Ductless problem right now?
No-heating and no-cooling calls are answered 24/7 with live dispatch and flat after-hours pricing posted in advance. Daytime? The $89 diagnostic is usually same-day in Vancouver, Burnaby and Surrey.
Call 604-615-2212 WhatsApp Us